1. Sign In at Office.com
2. Start the Setup

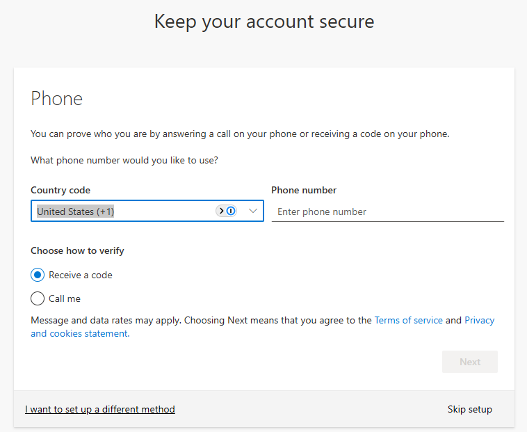
3. Verify with Your Phone Number
4. Set Up the Microsoft Authenticator App

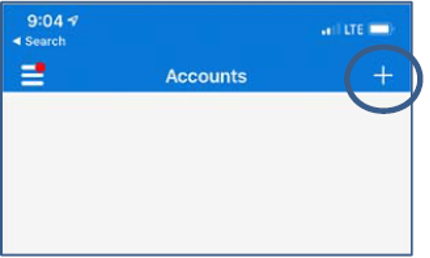
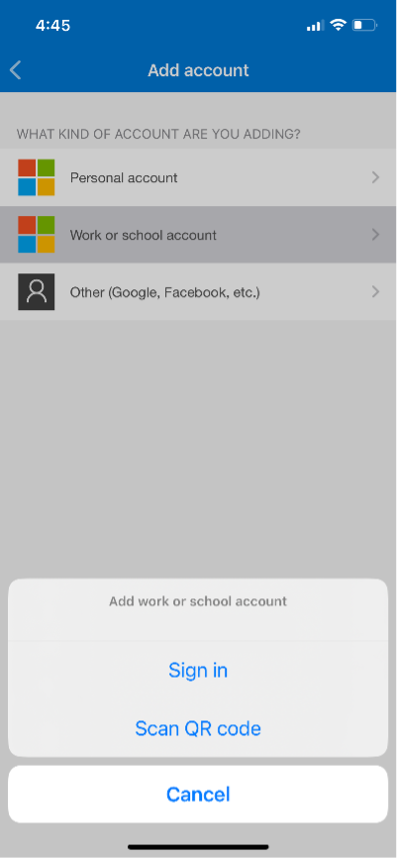
5. Add Your Account in the App


6. Scan the QR Code


7. Enter the Code from Your Phone

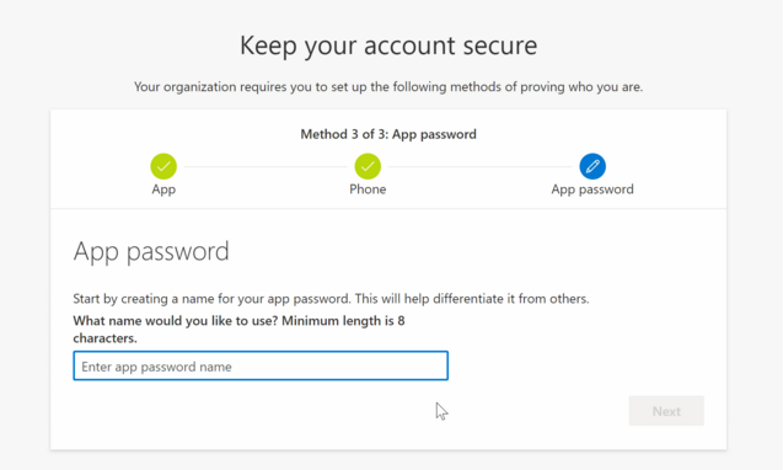
8. App Password
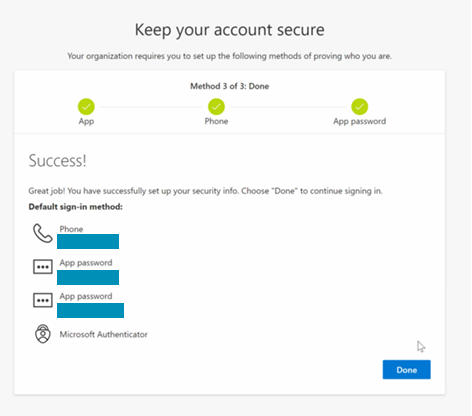
9. Complete the Setup